Customize HTML and CSS
For users who want to restructure the entire look of their status pages, StatusIQ offers customization at various levels, including the HTML, CSS, JavaScript, font, header, and footer.

To access the layout editor:
- Log in to StatusIQ.
- Choose the status page for which you want to change the layout.
- Navigate to Customize > Customize HTML & CSS.
- Make the necessary modifications and click Publish to apply them to your status page.
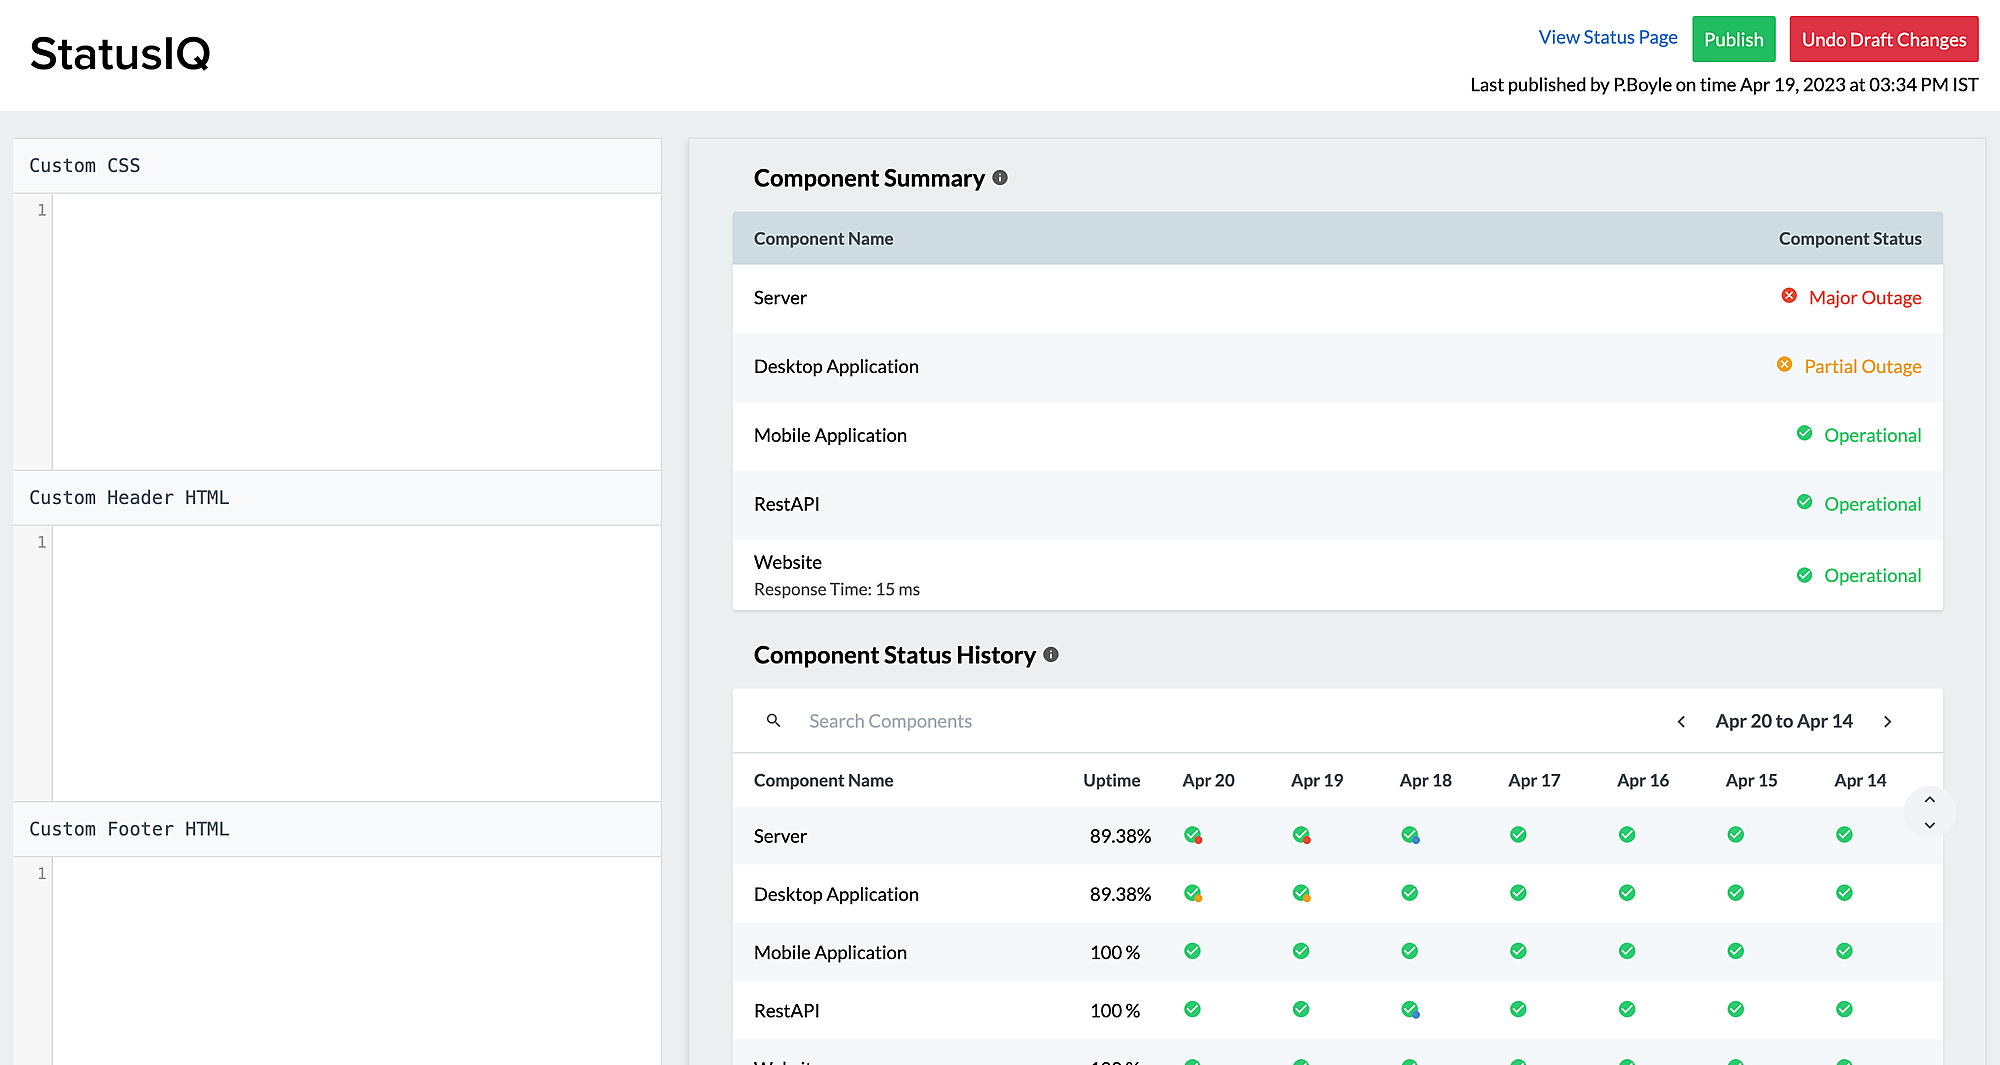
The layout editor
The layout editor has three sections:
- Custom CSS
- Custom Header HTML
- Custom Footer HTML
Any changes made in the editor will automatically be reflected on the right pane, giving you a live preview. The changes are saved as a draft and will not be mirrored on the public page. Once you click Publish, all modifications made to the page, including the ones made to the incident history, component details, and incident details pages, will be applied to your status page. If you click Undo Draft Changes, the unpublished changes you made will be undone.
You will be able to view the latest publisher, date, and time below the Publish and Undo Draft Changes buttons.


Here are the various customizations available for your status page:
Sample codes to edit the status page layout are given at the end of this document.
CSS customization
To implement the custom design elements of your preference, you can use the custom CSS and JavaScript editor to enhance the layout of your status page. Code snippets entered into the Custom CSS field are put into an external style sheet and included in the header section of the document. The external style sheet is inserted after the main style sheet, which gives you the freedom to override styles as required.
Refer to this page for the display the code section for default CSS classes defined in StatusIQ.
HTML and JavaScript customization
You can modify your status page's layout with custom JavaScript code according to your preference. With this, you can rearrange sections, hide sections, and do much more.
Refer to this page for the default Document Object Model (DOM) structure and the default page content loads inside div.container.
Refer to this page for the DOM structure after customization changes.
The following are a few sample code snippets for a few sample actions. Please note the nature of web design may cause compatibility issues. Test your HTML to ensure code compatibility.
- Customize the status from Operational to any status of your choice: Add this code in the Custom Footer HTML section on the page to modify the service status to any status of your choice under the Component Summary section.
- Reorder sections: Insert this code in the Custom Footer HTML section to reorder the sections on your status page.
- Change the banner text: Insert this code snippet in the Custom Footer HTML section to change the default text from "All components are Operational" in the banner.
- Add a custom footer: To add a custom footer to your status page, insert this code in the Custom Footer HTML section.
- Replace the Subscribe button: To replace the Subscribe button, add this code snippet in the Custom Header HTML section.
- Add a banner image: Use this code snippet to add a banner image to your status page. The code snippet can be placed in the Custom Header HTML section.
- Change fonts loading from an external source: In the Custom CSS section of the editor, insert this code snippet.
- Change the container color: In the Custom CSS section of the editor, insert this code snippet.
- Change the background color: Insert this code snippet in the Custom Header HTML section.
- Reorder components: To reorder components on your status page, insert this code snippet. Once inserted, please ensure to update the component names and adjust the weightage of the 'data-sort' attribute, based on which your components will be reordered.