
On-Premise Poller for Linux
The On-Premise Poller helps monitor your internal network and resources like URLs and network devices behind a firewall, meaning you can keep track of resources behind a virtual private network (VPN). This software is near-zero maintenance and firewall-friendly, and can be considered a private monitoring station complementing Site24x7's more than 100 global monitoring locations. To monitor your website transactions using a real browser monitor, you can set up a private monitoring location using our Linux-flavored On-Premise Poller. The service name is Site24x7 On-Premise Poller. Learn more about our On-Premise Poller architecture.
You can add an On-Premise Poller for Linux using three methods:
- Using the installation wizard
- Using the console
- Via silent installation of the Linux On-Premise Poller
Here's a video on how to install the On-Premise Poller for Linux:
For machines configured with SELinux
If your machine has SELinux configured, it needs to be temporarily disabled for the On-Premise Poller installation to be successful. To disable SELinux:
Open a terminal with root privileges and execute this command:
setenforce 0
Add an On-Premise Poller for Linux
- Log in to your Site24x7 account.
- Click Admin > On-Premise Poller > click the (+) icon.
- Select Add On-Premise Poller.
- Select the installation platform as Linux in the Add On-Premise Poller screen.
Install the On-Premise Poller
- Copy, paste, and execute the following commands in your terminal to install the On-Premise Poller.
64-bit OS:sudo wget http://staticdownloads.site24x7.com/probe/Site24x7OnPremisePoller_64bit.bin
NoteVerify the integrity of the downloaded On-Premise Poller using checksum validation.
sudo chmod 755 Site24x7OnPremisePoller_64bit.bin
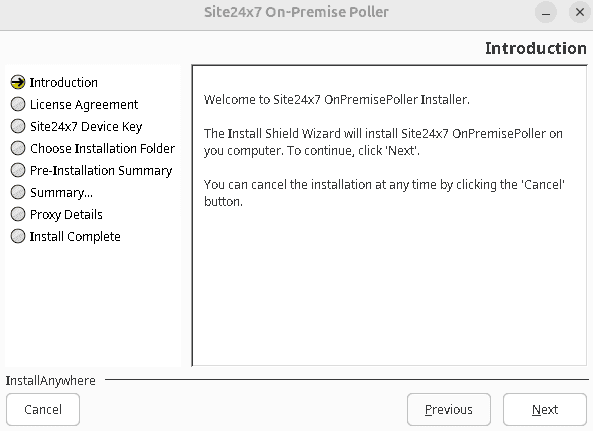
sudo ./Site24x7OnPremisePoller_64bit.bin - The InstallShield Window will open up when the files are executed. Click Next.
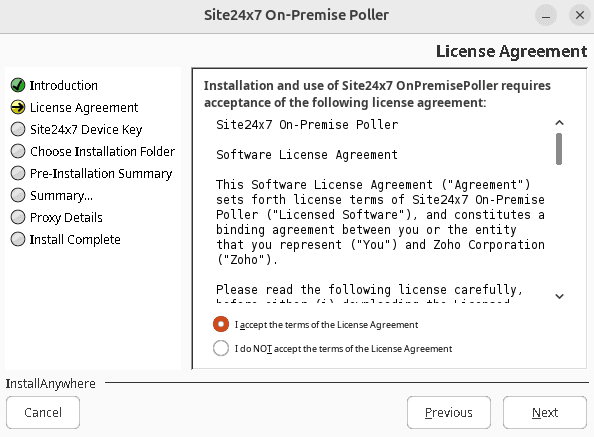
- Read the License Agreement and click Next to proceed.
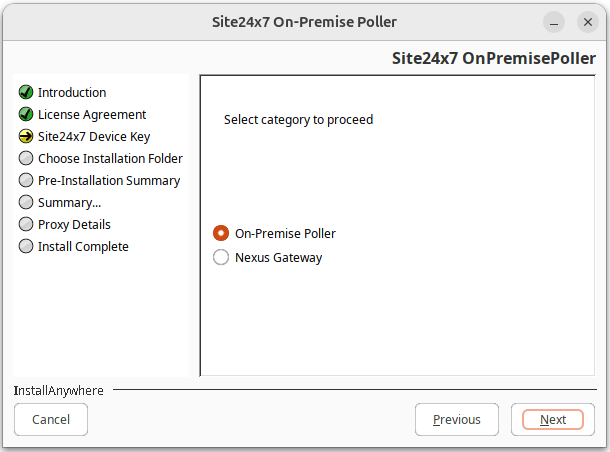
- Toggle between On-Premise Poller or Nexus Gateway as needed.
 Note
The Device Key can be obtained from Admin > Developer > Device Key.
- Specify the directory where the On-Premise Poller needs to be installed.
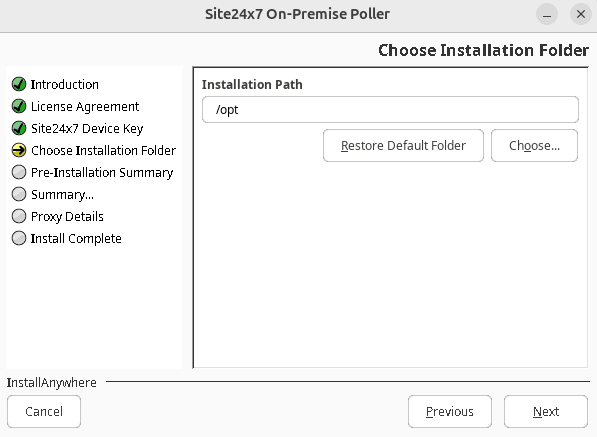
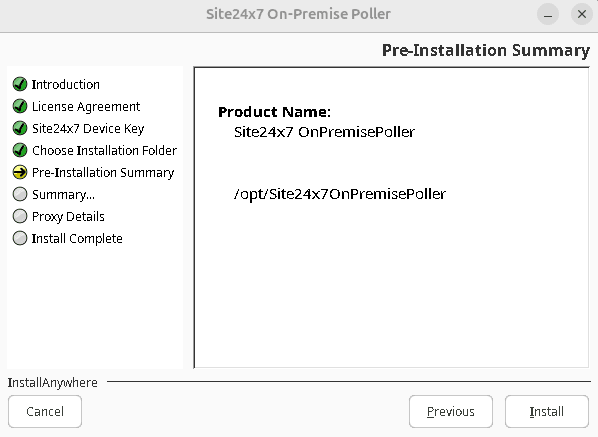
- Click Next. Check the pre-installation summary and click Install.
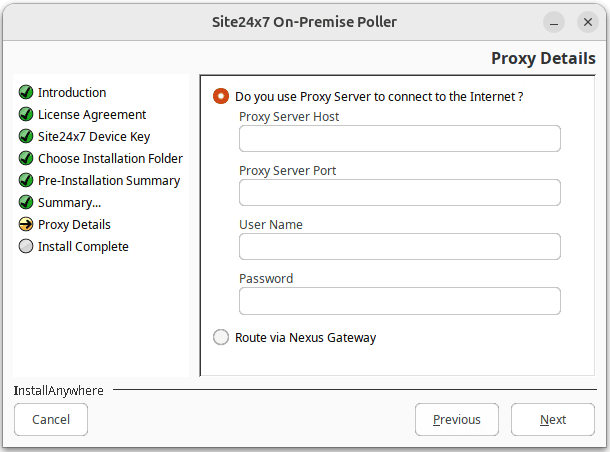
- Select the required option to provide Proxy details.
- If you have selected the first option, provide the details for the Proxy Server Host, Proxy Server Port, User Name, and Password fields. Then, click Next.
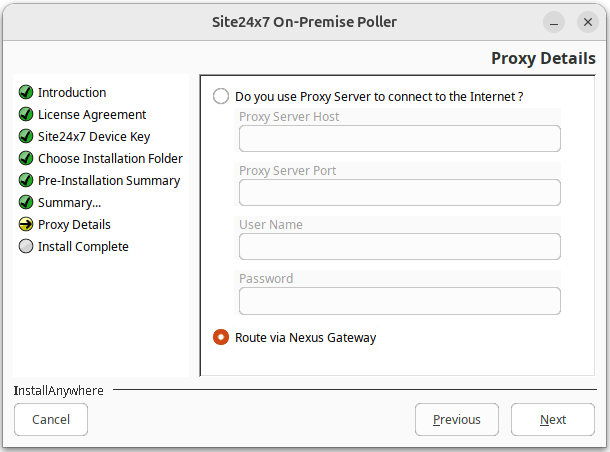
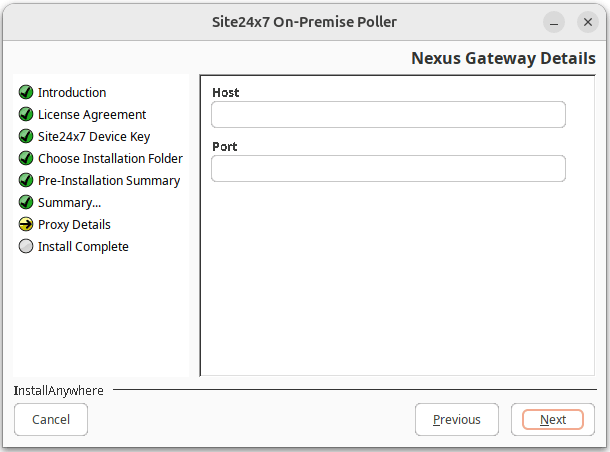
- If you wish to use Nexus Gateway, select Route via Nexus Gateway and click Next. Then, provide the Host and Port details of any one of the Nexus Gateways in the Nexus Gateway Group.
- If you have selected the first option, provide the details for the Proxy Server Host, Proxy Server Port, User Name, and Password fields. Then, click Next.
- Click Next to complete the installation.
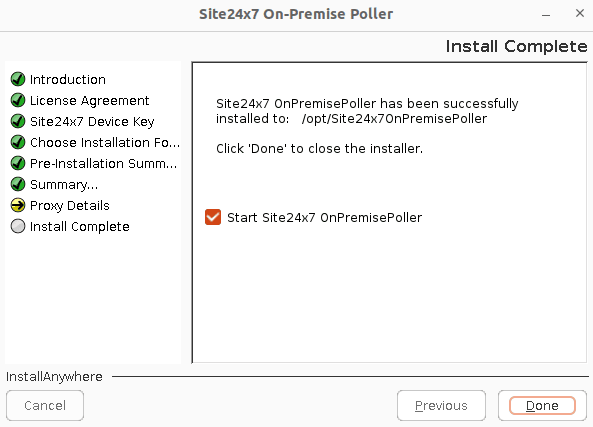
- Check the Start Site24x7 OnPremisePoller box to launch the On-Premise Poller automatically and click Done. You have installed the Site24x7 On-Premise Poller successfully.
- You can uncheck the box if you don't want to launch the Site24x7 On-Premise Poller right after installation.
- Read more to check out the other ways to set a proxy during installation.
- Also provide access to the below domains and ports for communication between the On-Premise Poller and the Site24x7 server.
| Domain | Port |
| https://dms.zoho.com | 443 |
| https://plus.site24x7.com | 443 |
| https://plus2.site24x7.com | 443 |
| https://pluspoller.site24x7.com | 443 |
- To start the installed Linux On-Premise Poller, go to the directory in the terminal where the Poller is installed.
- Use the following command to start the On-Premise Poller as a service:
Refer to this documentation for steps to install the On-Premise Poller as a service and troubleshoot common issues.
sudo systemctl start site24x7-onpremise-poller
- Once the On-Premise Poller has successfully started, you will find it added under Admin > On-Premise Poller in the Site24x7 control panel.
- Optional: To extend support for the On-Premise Poller in Web Transaction (Browser) and Web Page Speed (Browser) monitors, execute the following commands in the terminal to install the required packages in CentOS 7.0 to 7.8 or RHEL 7.x.
64-bit OS:
bash -c "$(curl -sL https://staticdownloads.site24x7.com/rbmagent_poller/rbm_wpa_packages.sh
The added On-Premise Poller will act as another location in addition to Site24x7's more than 100 global monitoring locations to monitor intranet website URLs, ports, and more. The On-Premise Poller location will be listed under Admin > Configuration Profiles > Location Profile.
Re-enabling SELinux
Re-enable SELinux using the command:
setenforce 1
Edit the added On-Premise Poller
- Click the On-Premise Poller which you want to edit in the Monitors screen.
- Enter an appropriate display name for the added monitor.
- The hostname, IP address, and the details of the On-Premise Poller will be displayed by default.
- Select the user group that needs to be alerted during an outage.
- To add multiple users in a group, see User Alert Groups.
- Click Save.
Troubleshooting Tips:
- My On-Premise Poller is not getting registered
- Checking the accessibility of Site24x7 server from the On-Premise Poller
- Silent installation of Linux On-Premise Poller
- Configure proxy for an already installed On-Premise Poller
- Polling frequency of monitors polled from On-Premise Poller
- How secure is On-Premise Poller
- Necessary ports to allow access to the installed On-Premise Poller in my secure network
- Amount of bandwidth consumed by the On-Premise Poller software