On-Premise Poller for Windows
On-Premise Poller helps monitor your internal network and resources like URLs and network devices behind a firewall. Thus you can keep track of the resources behind the virtual private network (VPN). This software is near zero maintenance and firewall friendly and can be considered as a private monitoring station complementing Site24x7's global 100+ locations. The service name is Site24x7 On-Premise Poller service. Learn more about our On-Premise Poller architecture.
Add On-Premise Poller
- Log in to your Site24x7 account.
- Click Admin > On-Premise Poller.
- Select Add On-Premise Poller.
- Select the installation platform as Windows in the On-Premise Poller screen.
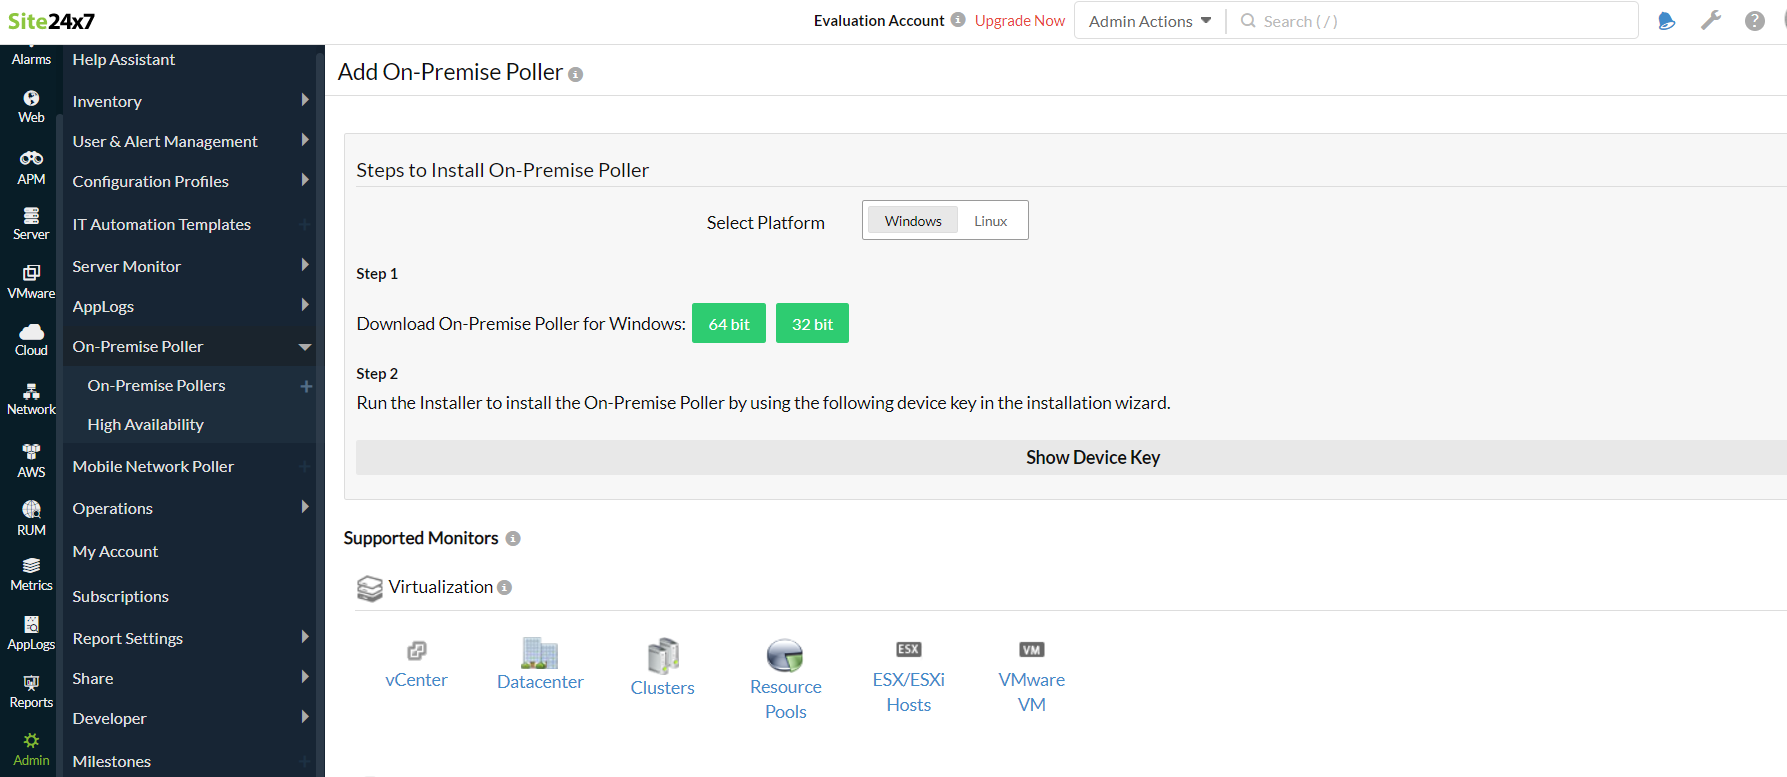
- Click on the binary type (32-bit or 64-bit) to save the software to the system.
Verify the integrity of the downloaded On-Premise Poller using checksum validation.
Install the On-Premise Poller
- Click the downloaded file to open the On-Premise Poller Setup installation wizard. Click Next.
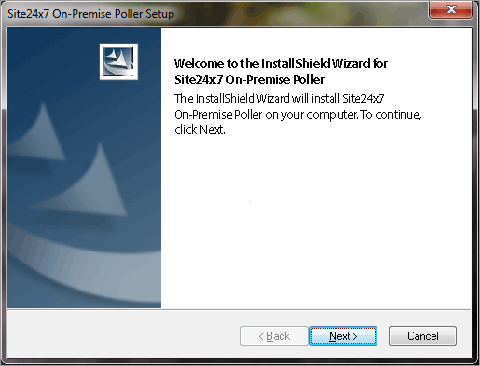
- Read the License agreement and click Yes to proceed.
- Enter your Device key when prompted.
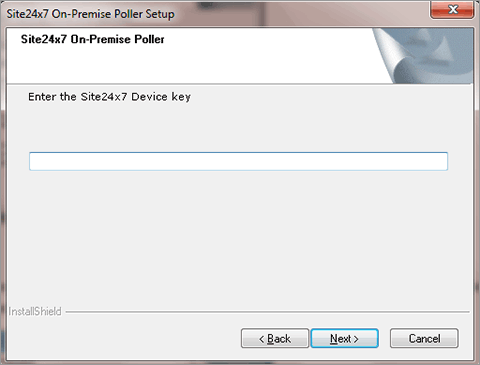
NoteThe Device Key can be obtained from Admin > Developer > Device Key.
- Follow the wizard instructions to complete the installation procedure.
Configure Proxy
Once the device key is entered, you may need to configure proxy in the wizard itself, if you use one in your network.
- Enable the check box to use the proxy server.
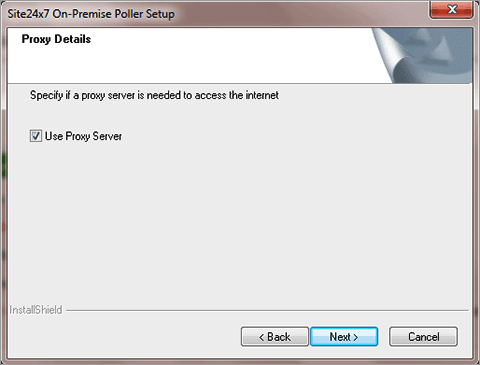
- Mention the proxy details to communicate to the central server. Click Next.
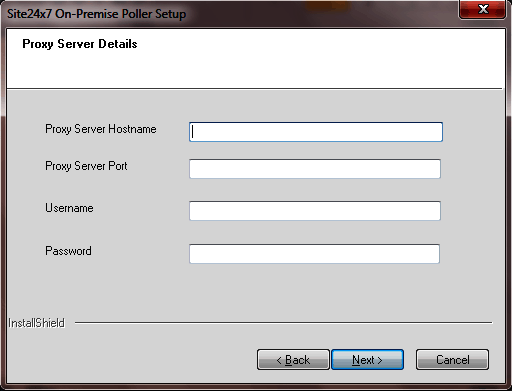
- Click Ok to enable the proxy.
- Also provide access to the below domains and ports for communication between agent and Site24x7 server.
Domain Port https://dms.zoho.com 443 https://plus.site24x7.com 443 https://plus2.site24x7.com 443 - You can view the added Poller for Windows under Admin > On-Premise Poller once the installation is complete.
- Now the added Poller will act as an another locations in addition to Site24x7 global monitoring location to monitor websites, web app etc. The On-Premise Poller location will be listed under Admin > Configuration Profiles > Location Profile.
Start the On-Premise Poller
- Go to Run dialog box.
- Type in services.msc and press Enter. This will open Windows Services.
- Start the service name SITE24X7_ONPREMISEMONITOR.
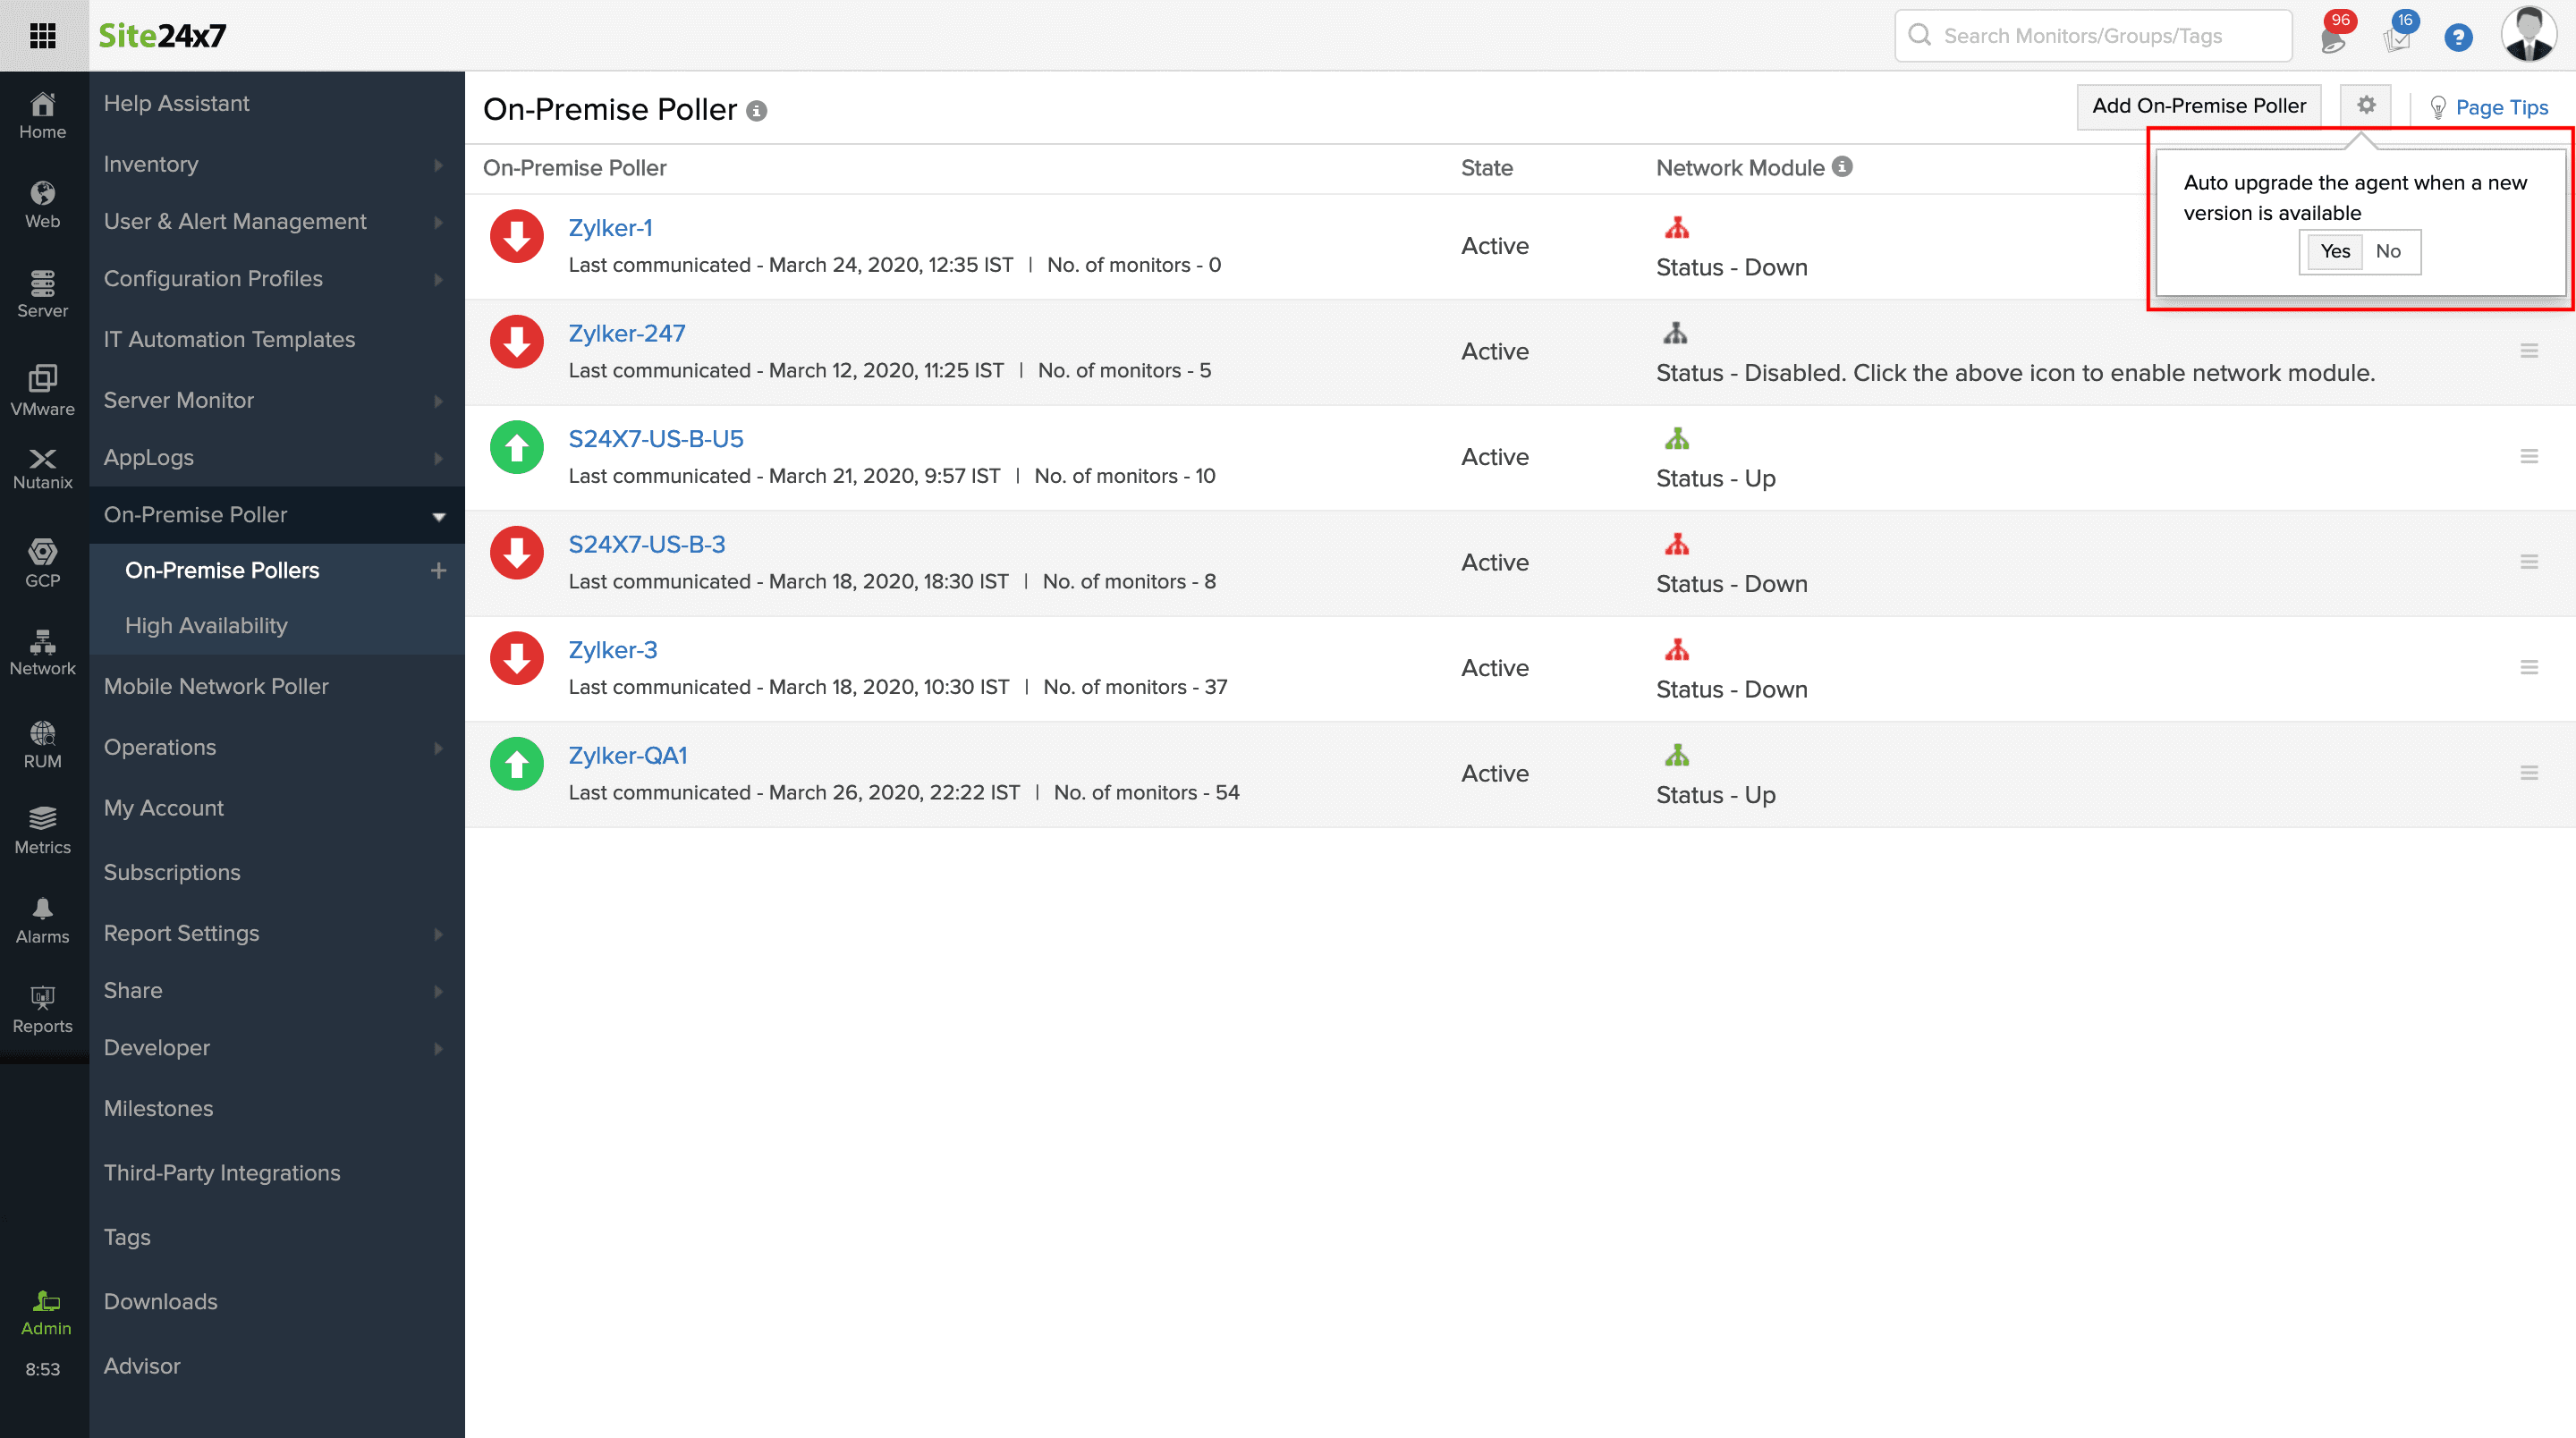
Auto Upgrade the On-Premise-Poller
- Click the settings icon next to Add On-Premise Poller in On-Premise Poller screen.
- This will help upgrade your agent when the new version is available.
Edit/Modify the added On-Premise Poller
- Click the On-Premise Poller which you want to edit in Monitors screen.
- Enter an appropriate display name for the added monitor.
- The host name, IP address, and the details of On-Premise Poller will be displayed by default.
- Select a threshold profile from the drop down list or choose the default threshold set available and get notified when the resources cross the configured threshold and availability.
To create a customized threshold and availability profile, refer Threshold and Availability. - Select the user group that need to be alerted during a outage.
To add multiple users in a group, see User Groups. - Click Save.
