Collecting Logs from Remote File Source
A Remote File Source allows you to collect files from a remote server without installing an agent. Simply install Site24x7 server agent (Windows | Linux) on any of the servers that can pull Remote File Source logs from the remote server and send to Site24x7 for analysis and troubleshooting. Learn more about log management with Site24x7.
Create a Log Profile
To collect the logs from a remote file source, you will first need to create a Log Profile. Log in to Site24x7 and navigate to Admin > AppLogs > Log Profile > Add Log Profile, and follow the instructions below:
- Profile Name: Enter a name for your Log Profile.
- Log Type: Choose the type of logs you are going to collect.
- Log Source: Choose Remote File.
- List of files to search for logs: Provide the file path from which you want the logs to be collected. You can also include or exclude files from a particular folder.
- Remote Hosts:Enter the host names or IP addresses from which the logs are to be collected.
Note
To collect logs from remote windows servers, you will need to install OpenSSH. Since Windows does not handle SSH natively, this installation is required to enable log collection.
- Download OpenSSH from https://github.com/PowerShell/Win32-OpenSSH/releases.
- Extract the zip file, and move the folder to a location of your choice.
- Open System Properties, and select Environment Variable.
- In the pop-up window that opens, choose Path under System Variables, and click Edit.
- In the field Variables Values, enter the path where OpenSSH is located, and close the pop-up window.
- Run Powershell, and locate the OpenSSH folder. Run the command .\install-sshd.ps1 to install the SSHD service.
- Next, open Services, and start OpenSSH SSH Server and OpenSSH remoAuthentication Agent, and change the Startup Type to Automatic.
- If you have an active Windows Firewall, allow the SSH connection by adding the value 22/TCP for ports.
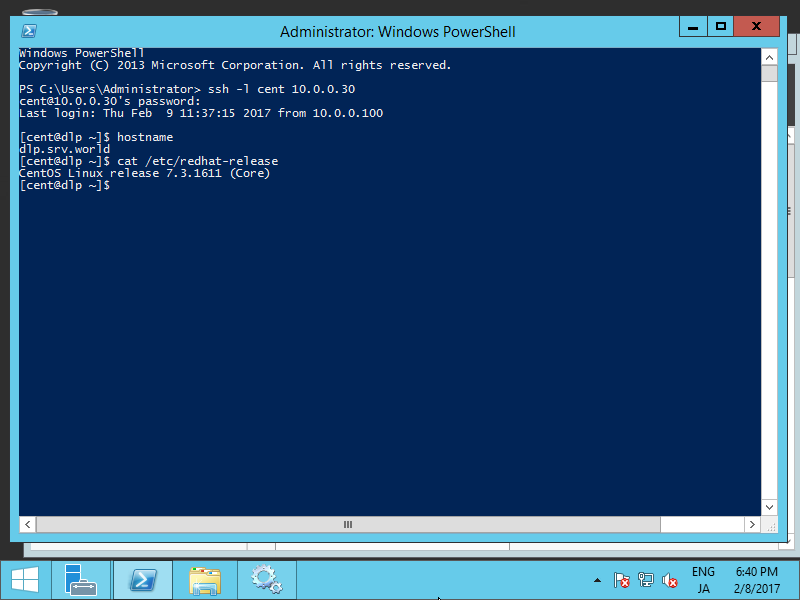
- You can connect from a Windows server to a Linux server as shown in the image below:

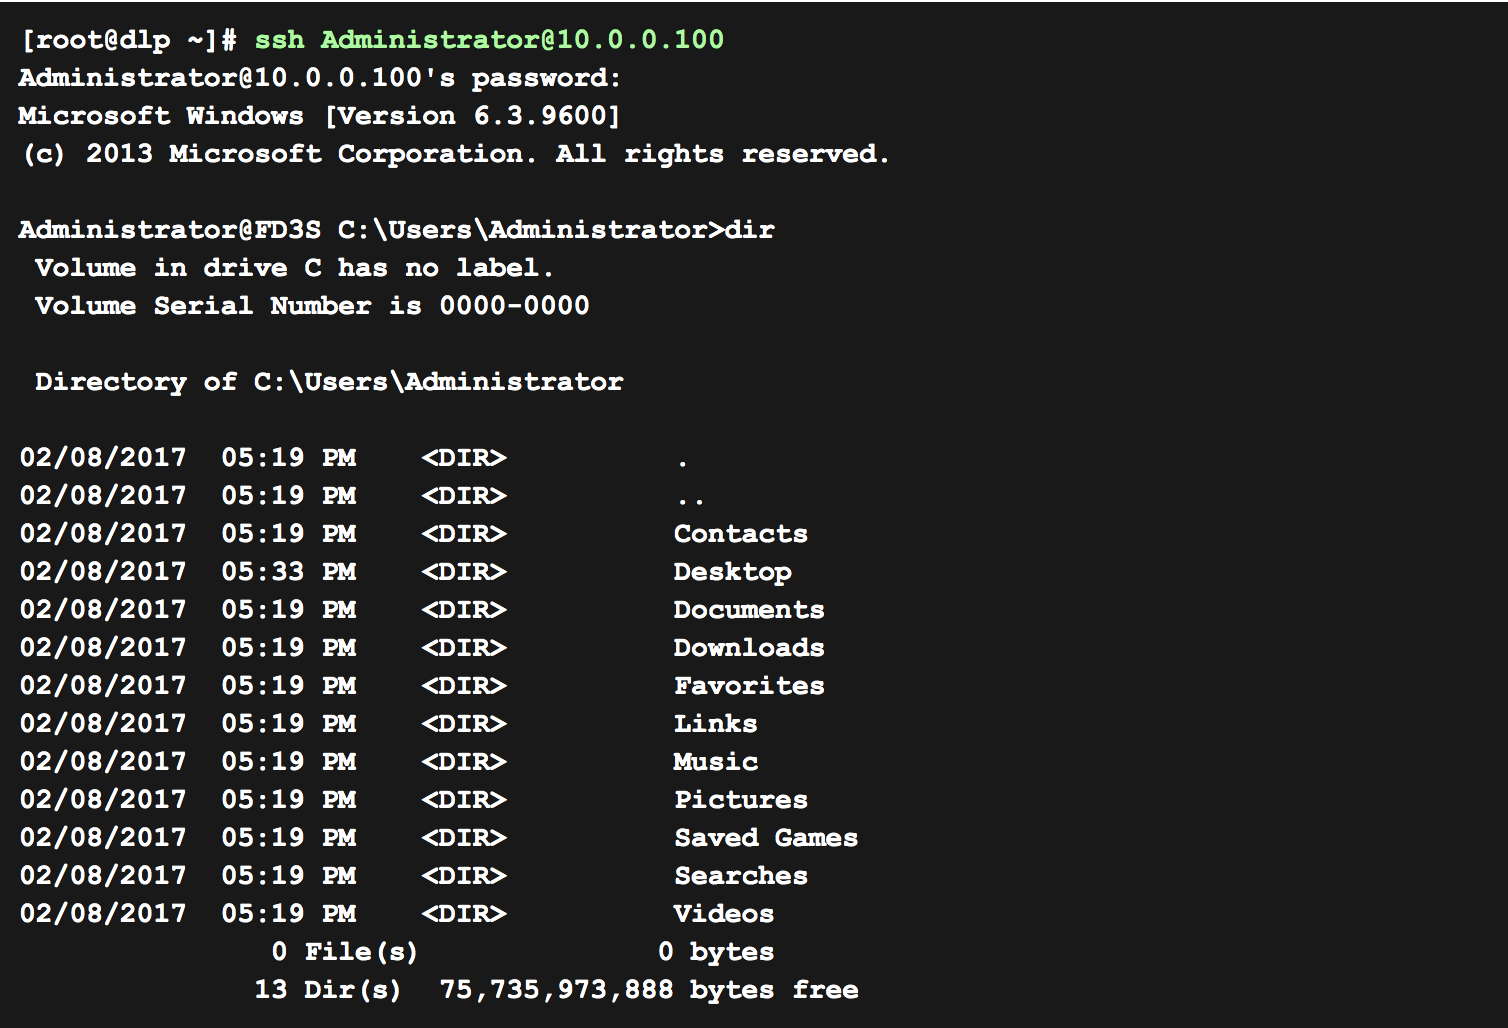
- You can also connect from a Linux server to a Windows server as shown in the image below:

- Username: Provide the username of the host machine
- Authentication method:Choose the type of authentication that best suits you.
- Password: Provide the password for the host system from which file collection will take place.
- Password File: Choose Password File if you do not wish to enter your password directly to the Site24x7 web console, or if you wish to monitor two or more hosts with different passwords. You can store the password in the machine where the AppLogs agent is installed, in compliance with the steps given below, and enter the path of the password folder in the remote server. If you have a common password for all the configured remote hosts, then the file format is as follows:
<filename>.txt and then provide the password within this file.
If all the hosts have different passwords, the file format is:
<filename>.properties and the file contents will be:
[default]
remotehost1=asta55das@s
remotehost2=asta345das!s
remotehost3=asta533das4s
Note:If you do not wish to store the passwords in plain text format, you can encrypt the password file to add a layer of security. The encryption key is entered in our web client as the password, and the AppLogs agent will access this encrypted file during data collection. To encrypt the file using VI, please enter the command below while creating the file:
vi password.txt
:set cm=blowfish2
:X
'Enter the password'
- PEM File: Alternatively, you can also securely store your credentials as a PEM file and provide the file path. If you wish to monitor two or more hosts, you will need to place the PEM file of all the remote servers in a single folder and provide its path. The files inside the folder should be in the format below:
remotehost1.pem
remotehost2.pem
remotehost3.pem
- Timezone: Select a timezone for your logs.
- Associate this log profile in these monitor groups: Choose the monitor groups with which you want to associate this log profile.
- Associate this log profile with these servers: Select the servers to which you would like to associate this log profile.
- Click Save.
Once the log profile is created, Site24x7 will automatically collect the logs and you can access them from the AppLogs tab.
