Android app: Settings
The Settings page available in the Site24x7 Android app provides comprehensive guidance on how to navigate apps and take advantage of their features. From managing multiple accounts to customizing your notifications, we provide clear instructions to enhance your experience. You can explore options for scheduled maintenance, personalized dashboards, and essential app settings.
More ( ) Settings
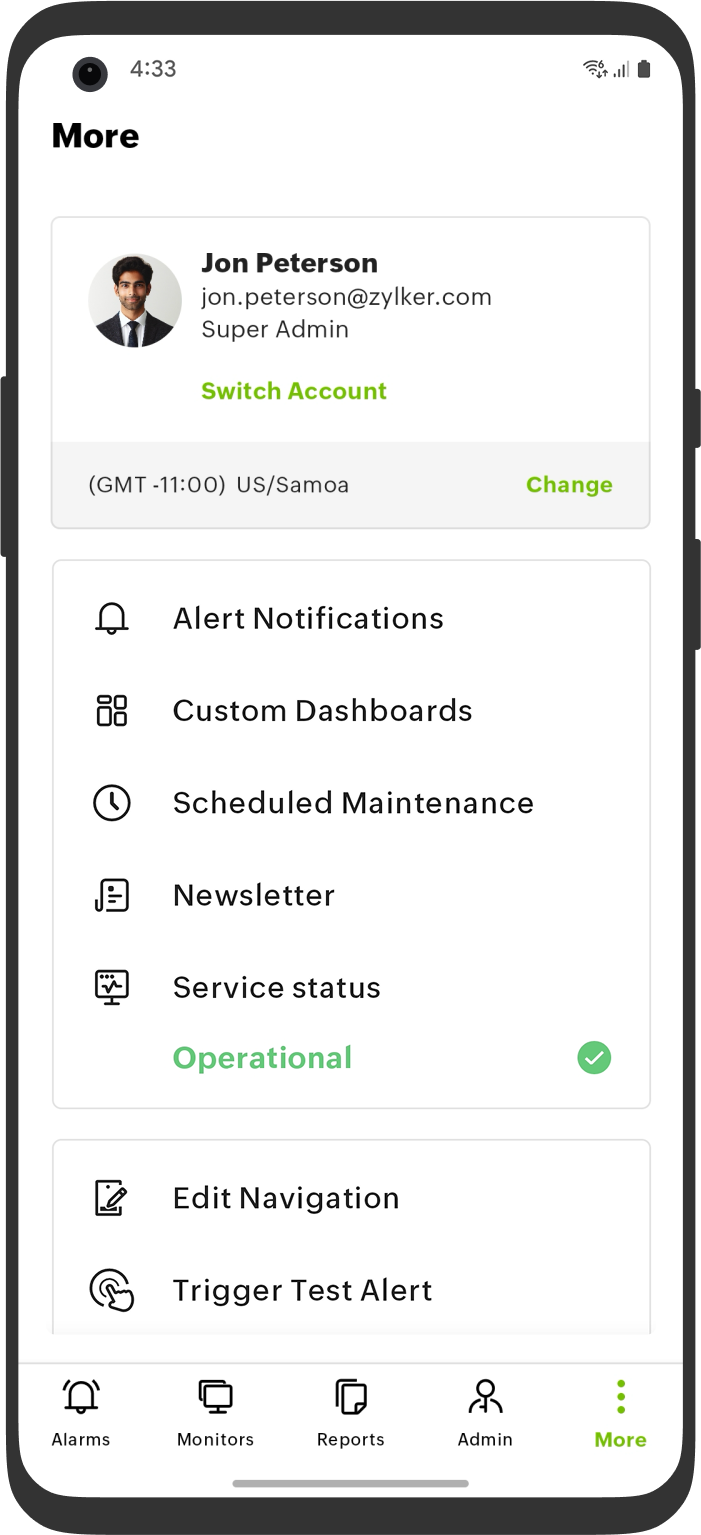
Select More from the bottom navigation bar to navigate to the Settings page.
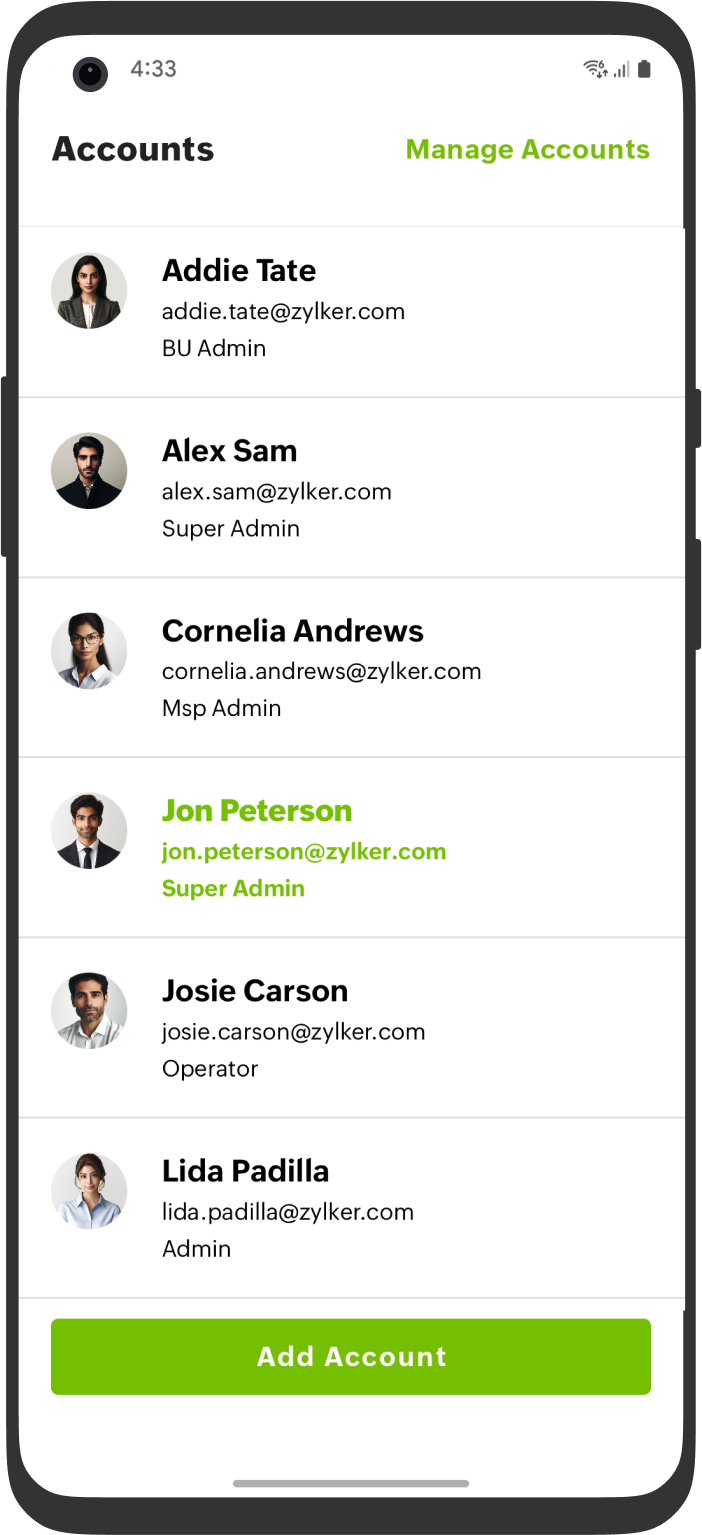
Add/Modify your account
Allow the users to add multiple accounts to the mobile app, enabling them to sign in from and switch between various accounts based on their needs. You can add multiple accounts to your app and switch between the accounts. This can be done by clicking Add Account and adding the new or existing account.
Steps:
- Click More > Add Account.
- Provide your email address or mobile number and password. Click Sign-in to log in with a new account.
NoteUsers can sign in to different DC accounts using the mobile app and switch between the accounts.
Modify the time zone
Set your time zone based on your preferred location. Click Change to modify your time zones.
Notifications
Get instant updates on your monitors with notifications. These notifications will be available even if the app is unused. You can turn on or off notifications by clicking the notification ![]() icon and adjusting the notification settings based on the monitor's status.
icon and adjusting the notification settings based on the monitor's status.
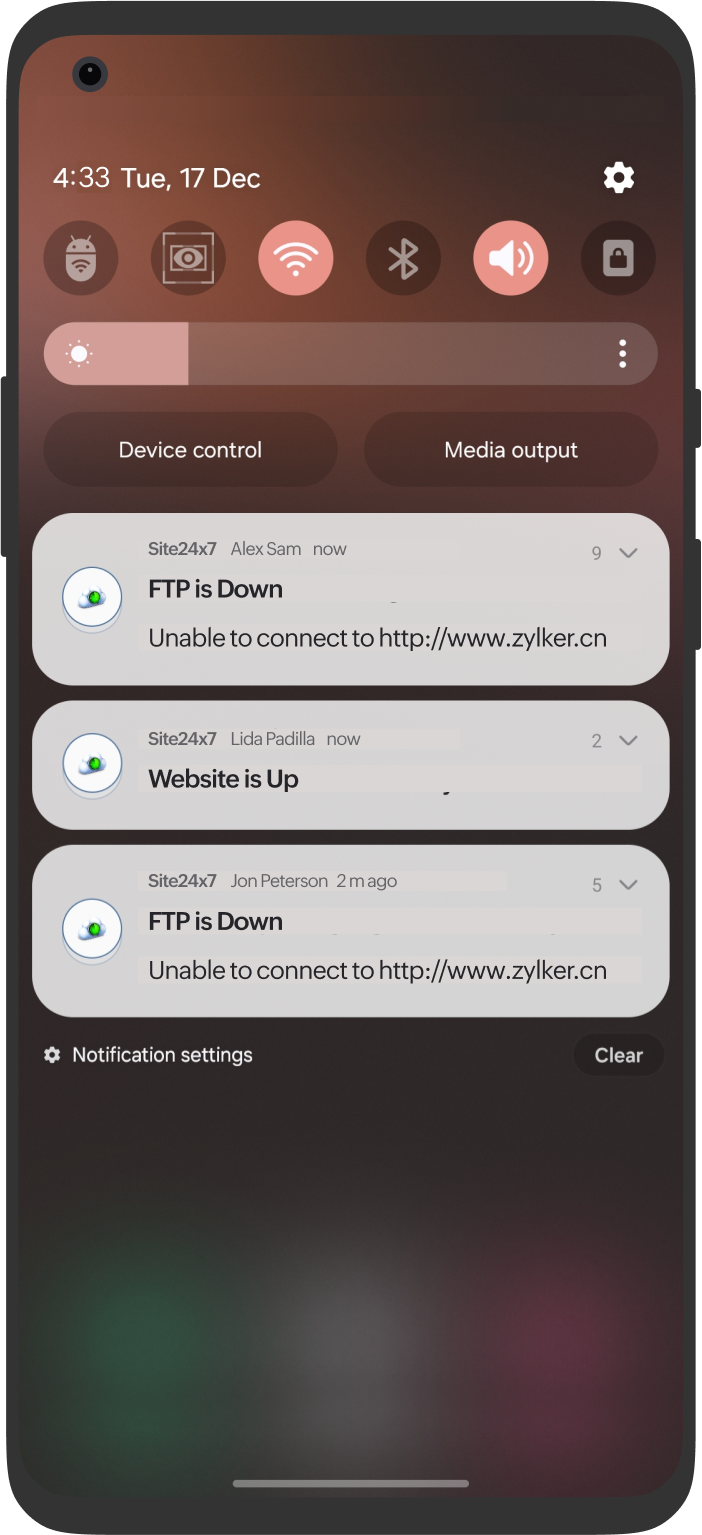
Click the check-mark ![]() icon to mark all the notifications as read.
icon to mark all the notifications as read.
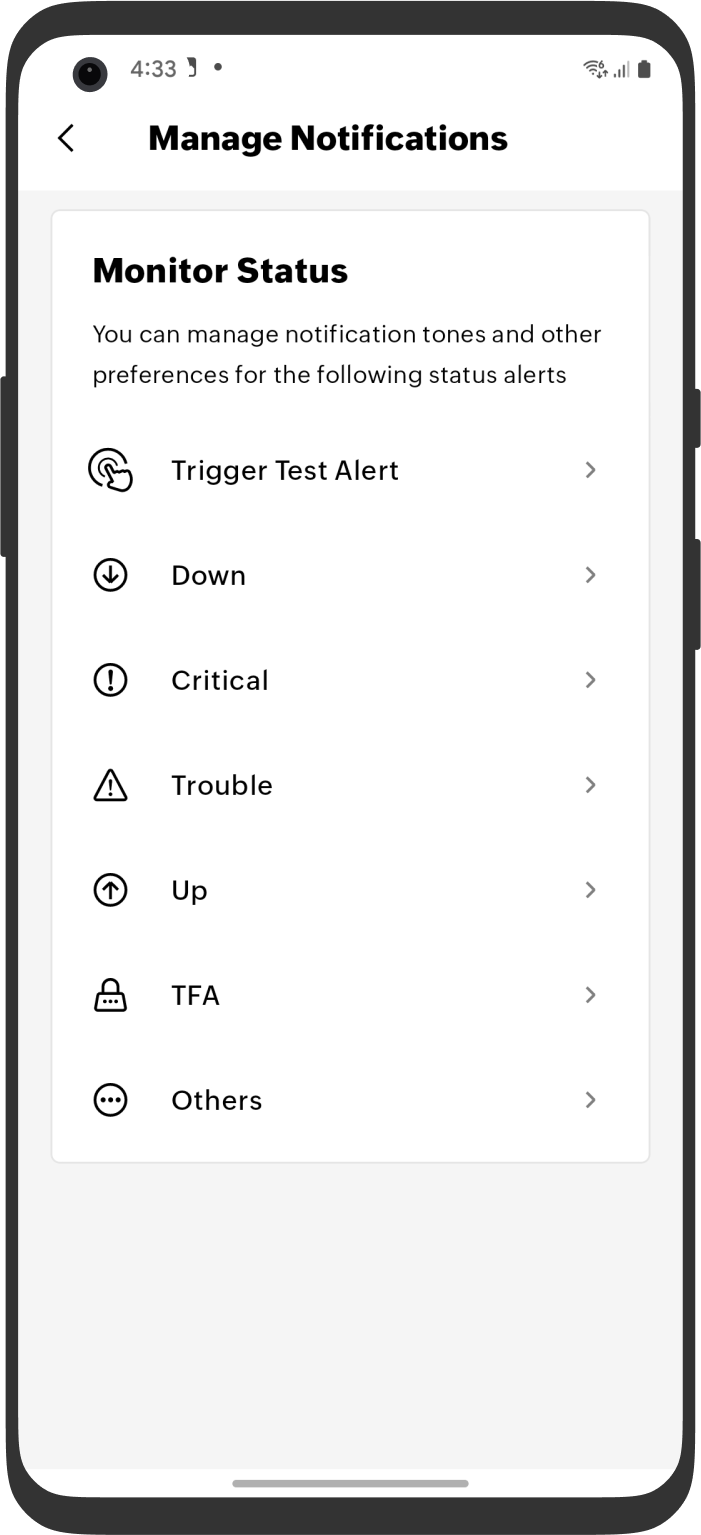
Change the notification settings by clicking the App Settings > Manage Notification.
- Manage Notification: Manage the notification tones for the statues Up, Down, Critical, Trouble, TFA and Others.
Custom Dashboard
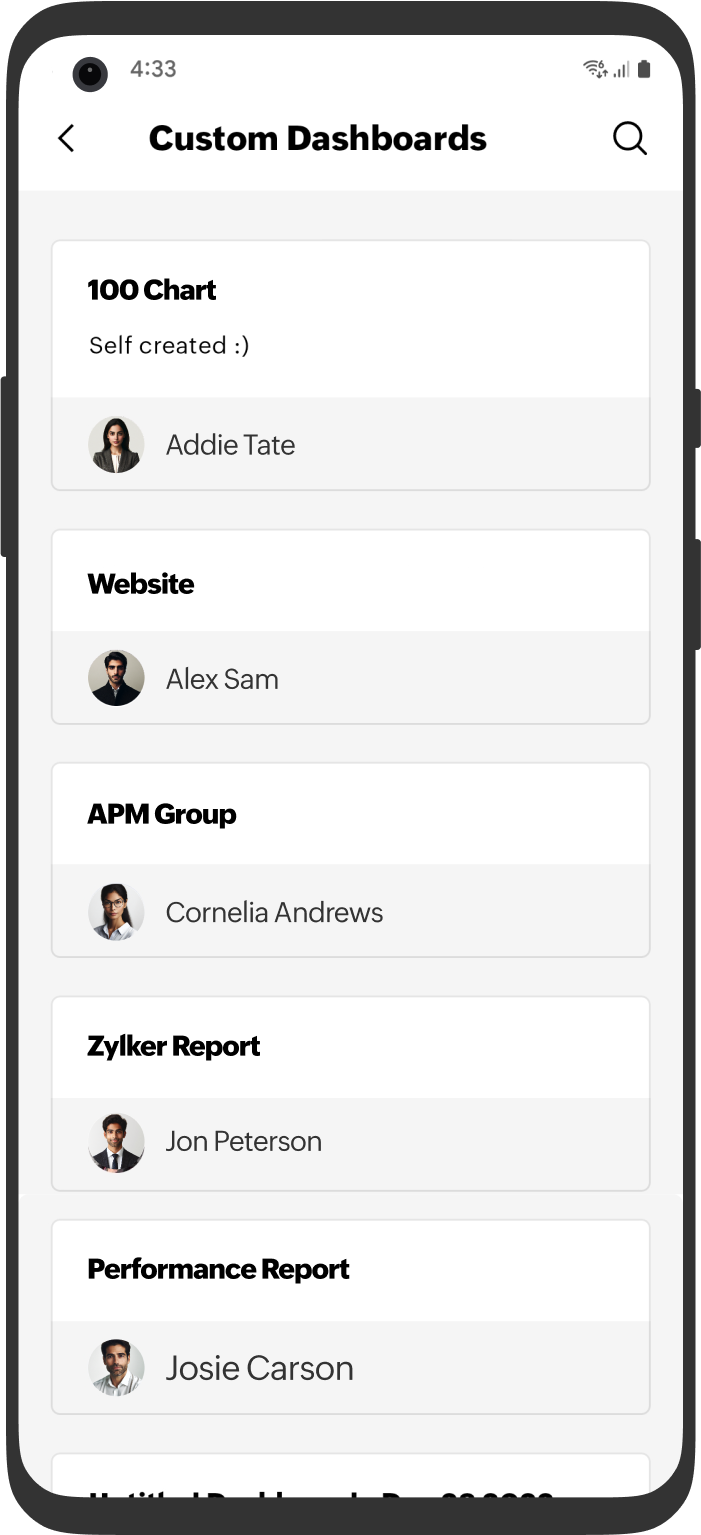
Explore your personalized Custom Dashboard, where all the dashboards you created are showcased. Delve into your account to view and manage them at your convenience. To access the custom dashboard, navigate to More > Custom Dashboard.
Learn more about custom dashboards.
Scheduled Maintenance
Collaborate with your IT team using the Schedule Maintenance window. When scheduled, all monitor alerts are suppressed by default. You can also boost uptime by enabling monitoring during maintenance.
To add a scheduled maintenance, navigate to More > Scheduled Maintenance.
Click Schedule Maintenance button to schedule a maintenance time. The calendar displays the maintenance time created for the monitors. Learn more about schedule maintenance.
Newsletter
Stay informed with our monthly newsletter, which features product updates and valuable admin tips to streamline your monitoring duties. To access the newsletter, navigate to More > Newsletter.
Service Status
Quickly gain insights into the status of your monitors. Determine whether they are operating smoothly, under maintenance, experiencing degraded performance, facing a partial outage, or encountering a major outage, based on the various monitor services available to you.
Edit Navigation
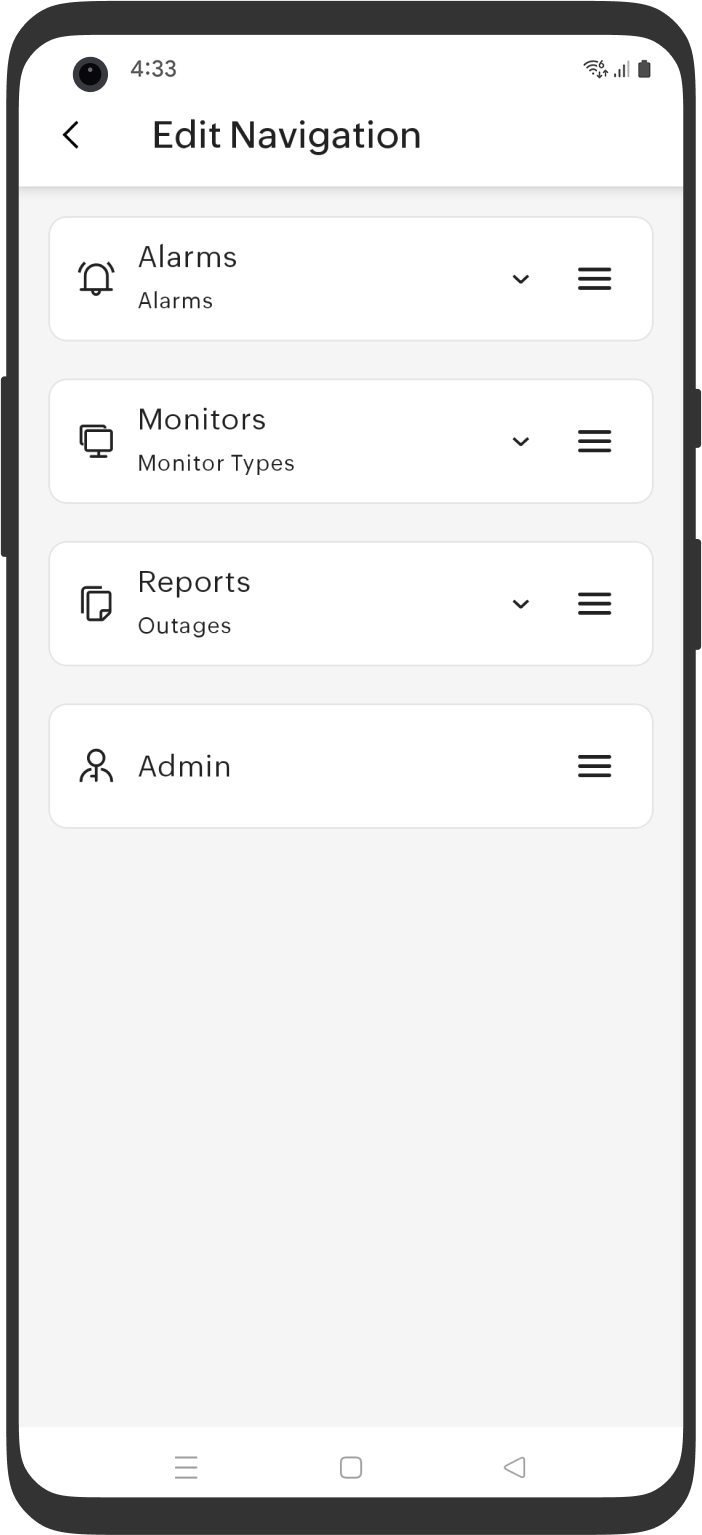
The mobile app's Edit Navigation feature allows you to personalize the bottom navigation bar according to your workflow and preferences.
Key features
- You can reorder tabs in the bottom navigation bar to bring your most-used sections to the front.
- You can set your most preferred list as the default for each tab.
Steps
- Navigate to More > Edit Navigation.
- Click the hamburger icon
 and drag and drop the tabs to organize them as you wish.
 - Select the down arrow
 and choose your preferred default list for each tab.
Trigger Test Alert
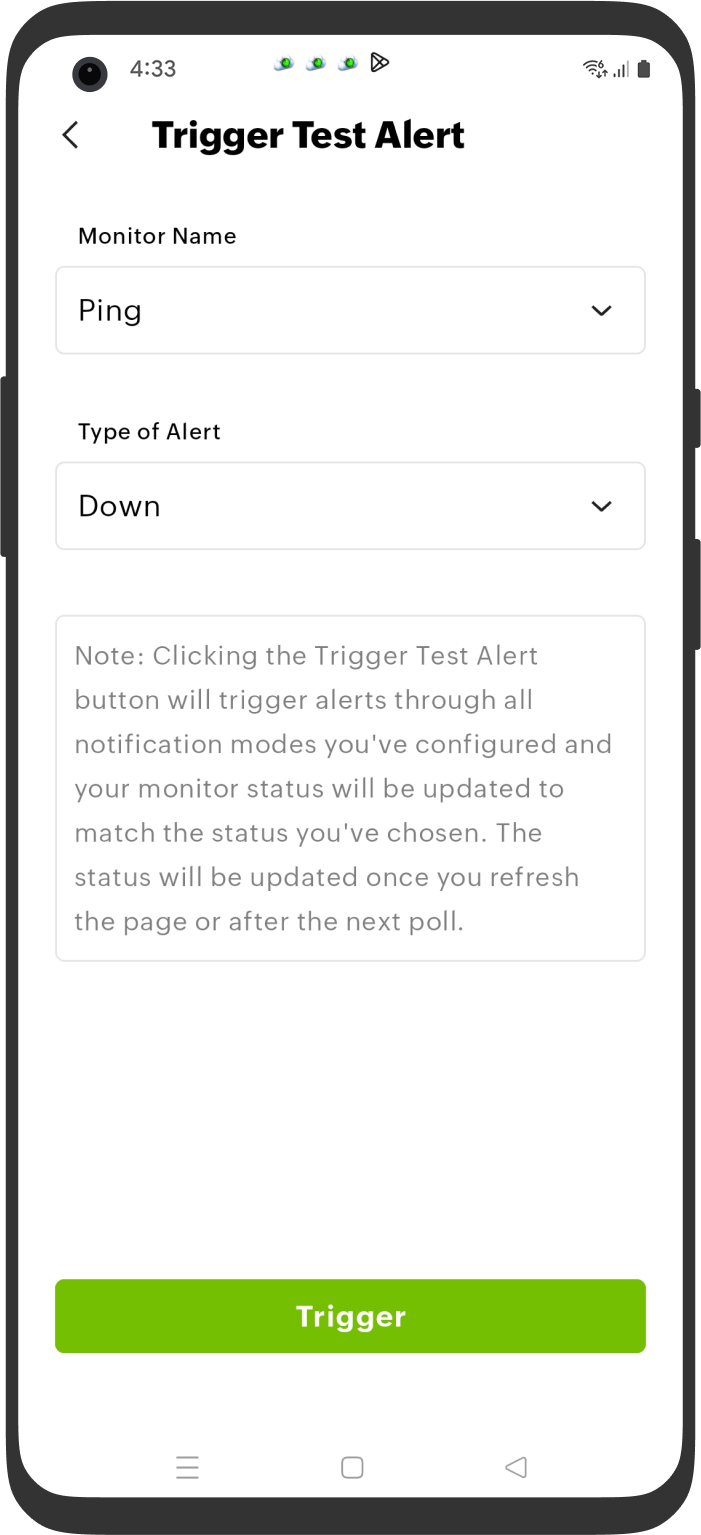
Initiate a test alert with this option. Clicking Trigger Test Alert will trigger an alert through all the notification modes you have configured in your app, and your monitor status will be updated based on the status you have chosen. The status will be updated once you refresh the page or after the next poll.
This option is not available for MSP and BU roles.
App Settings
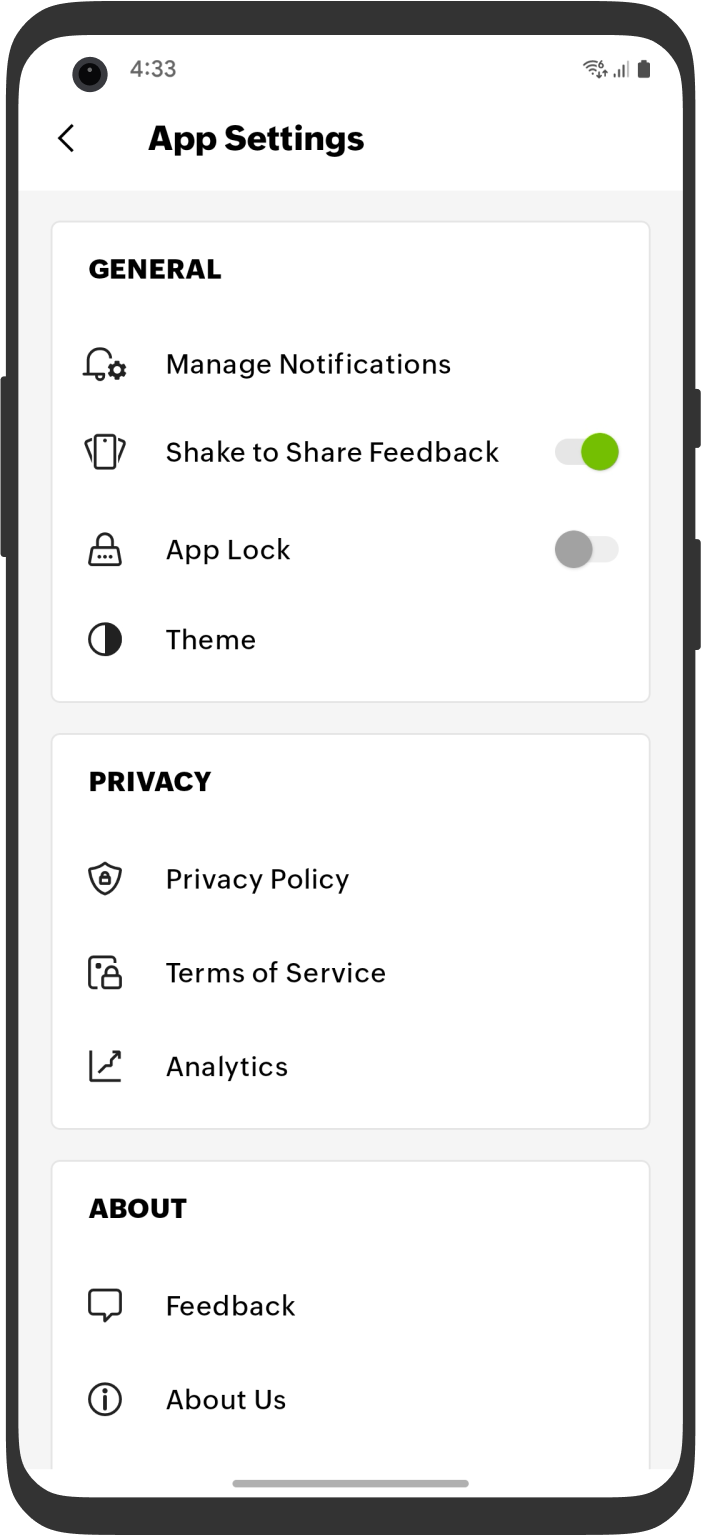
Modify the App Settings under this section. Customize your app based on your requirement.
General Settings
Navigate to More > App Settings > General Settings to modify the general settings.
- Notification Settings
Customize your notifications based on the Monitor Status, including managing notification tones and other preferences for different status alerts. - Shake to Share Feedback
Share your feedback by simply shaking your mobile device. - App Lock
Lock the app with a secured PIN to ensure that only authorized users can access the locked app, even if they have access to the device.- Enable App Lock
To enable the app lock, follow the below steps:- Click App Settings > App Lock.
- Select Enable App Lock and provide your PIN.
- Change PIN
To change the PIN of your app lock, follow the below steps:- Click App Settings > App Lock.
- Select Change PIN and provide your new PIN.
Users will be signed out after six failed PIN attempts and have to log in again.
- Biometric unlock
To change your lock to biometric, just enable the Biometric unlock option provided. - Ask for PIN
Enables you to choose a time limit for entering the PIN on the app. You can require the PIN after one minute, five minutes, or 10 minutes. Depending on your selection, the app will prompt you to enter the PIN to unlock the screen.
- Enable App Lock
- Theme
Enables you to change the app's theme. You can choose from three available themes: System Default, Light, and Dark, based on your preference.
Close Account
Close your account by clicking on the Close Account button. This action is irreversible and will permanently delete all data associated with your account.
Sign out
Click on the Sign out button to log out of your app.
